Healthy Kitchen Smells Fresh

June 12, 2009

Baked Sweet Potato Chips

Filed under: Allergy Free, Bakings, Gluten-Free, Savories, Snacks, Vegan, Vegetarian — nshahida @ 12:06 pm

IMG_4838

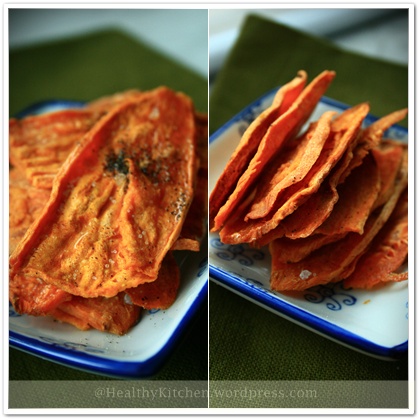
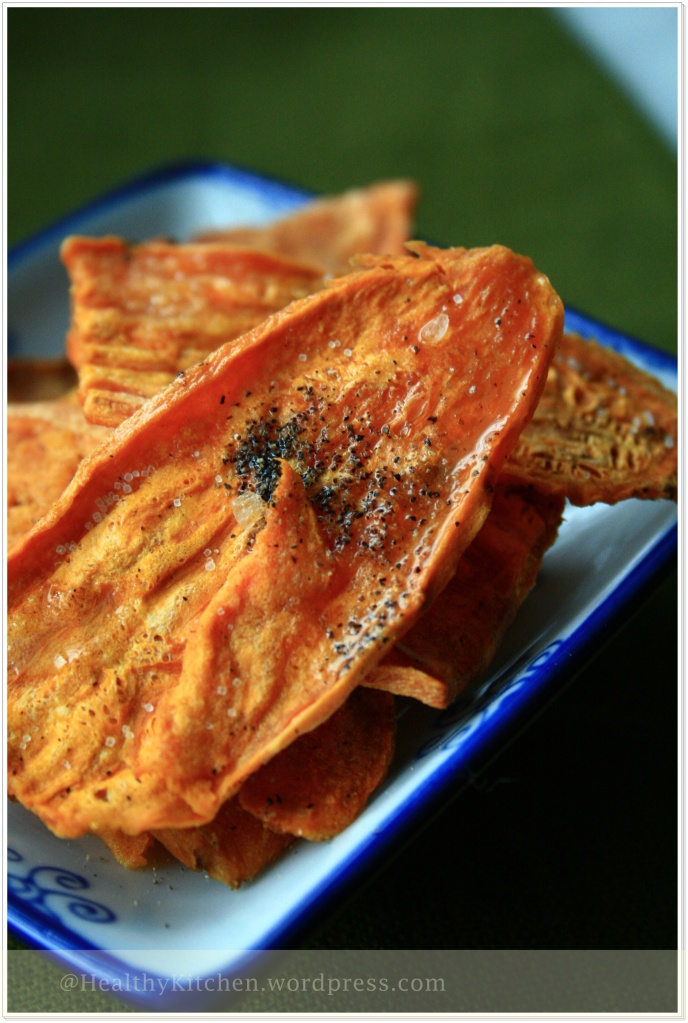
Here is another version for healthier chips. Sweet potato chips, in replace for greasy deep fried, high sodium potato chips that being craved by most of us. Honest to be said, I am no a big fan for chips but I crave for it sometimes whenever my mind starts imagining something munchable and satisfying to be snacked. I am such a huge “snacker”, don’t you know me?

Good news, you don’t have to waste your cooking oil for chips, no more! I baked it in the oven, a very low heat as for the cooking method. With small amount of oil – only a couple drops. And it turned out really crispy just as I wanted.. the crunch aspect , you won’t believe it’s not deep fried.

Another good news, sweet potato is lower glycemic carb compared to potato which is high in glycemic index and may increase blood sugar tremendously if consumed unsparingly. Plus, sweet potato offers more flavor and nutritional value in our diet. And it’s very easy to make too.

Sweet Potato Chips ( Makes about 2 ½ cups)

Spice it up with herbs or any spices of choice for variations. I just like it plain.

Ingredients:

  • 5 medium size sweet potatoes, peeled or unpeeled, it’s an optional
  • Sea salt or regular salt , to taste
  • Freshly ground black pepper, to taste
  • 2 teaspoons grape seed oil (or canola oil, olive oil)

Methods:

1- Preheat the oven to 400F.
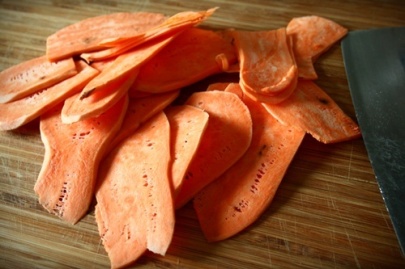
Sliced thinly

2.Thinly slice sweet potatoes, no more than 1/8 inch thick – as it may take longer to cook  and crisp if sliced thicker. Place the slices into a large bowl.

Well Seasoned

3- Season with salt , spices ( if using) and pepper. Drizzle with oil.

4- Toss everything together until sweet potato slices are well seasoned.
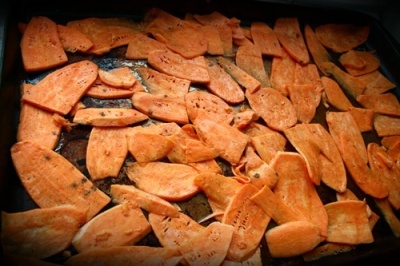
Layered singly

5- On a baking sheet pan, arrange the well seasoned sweet potatoes. Be sure to arrange them on single layer. Do not overlap them , if you can’t fit everything on the baking pan, bake for the second round.

6- Bake in the 400F preheated oven for 10 minutes, reduce the heat to 300F. Continue to bake for 15 minutes. Once again, lower the heat to 200F, let it crisp up for 15-20 minutes or until you notice the chips turn brown at the edges. Be sure not to burn them down. Keep eyes on it.

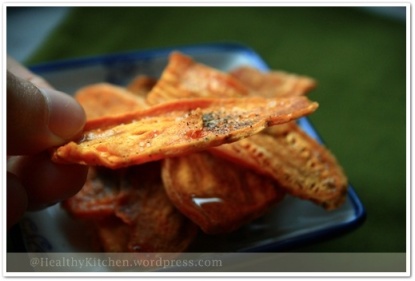
7- Remove from the oven and let them cooled completely ,they get crispier as they cooled.
IMG_4839

Chips

June 11, 2009

Homemade Koew Teow ( Flat Rice Noodles)

Filed under: Allergy Free, Asians, Chinese, Cooking, Gluten-Free, Malaysians, Noodles, Vegan, Vegetarian — nshahida @ 10:39 pm

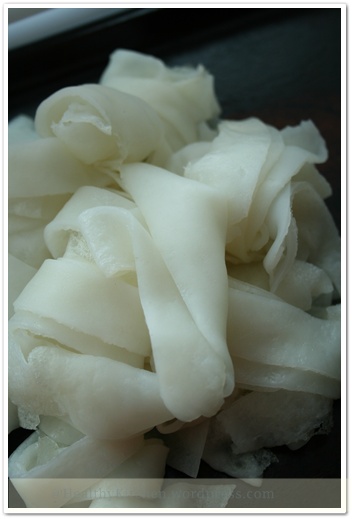
Koew Teow

After quite number of times trying to make homemade rice flat noodles or koew teow , which were disastrous , I had never tried to make it again ever since. Thought it was easy to make, unfortunately I was wrong.. err.. may be it just me.

I don’t remember what happened until I was convinced to make it again. Perhaps, it popped up in my head when I was thinking about making an allergy free version of noodles. With my mother’s big help, I finally got full bowl of rice noodles of my own. Still after a couple unsuccessful attempts, but I guess all the efforts is paid off and I am so thankful.

With compliments my husband awarded me for this homemade koew teow, I feel confident and happy to share this with you.

Different people make this noodle differently, so do I. I find the version I am about to share with you works best for me, I hope it does for you too. This recipe does not call for all purpose flour or any source of wheat or gluten so for those who has problem with gluten , this is for you. Especially for my sister, Kak J who makes a lot of AF foods for her son.

Warning : this noodle recipe is not suitable for those who is allergic to rice , corn or potato.

Flat Rice Noodles. (makes 12-14 crepes , 4-5 servings of noodles )

TIPS:The first round making this ‘crepes’ may be gone to the chicken for some of you, the same thing happened to me so don’t get discouraged! Keep trying until you get it. You will finally figure out how it works.

It is highly recommended to use non-stick pan.. any kind otherwise you only get dumpling instead of flat noodles. Different size of pan will need different amount of batter mixture each time cooking the ‘crepes’ , play around with the amount until you get it.

If making rice spring roll wrapper, reduce the amount of batter to pour on the hot pan, this make thinner crepes .

Ingredients

  • 1 cup rice flour
  • 1 cup cornstarch
  • 1/2 cup tapioca flour (see Note)
  • 1/4 teaspoon salt
  • 6 cups Luke warm water
  • ¼ cup canola oil or vegetable oil and some extra for brushing.

Methods:

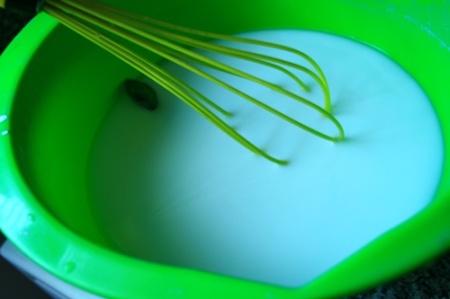
  1. In a large mixing bowl, whisk the rice flour, cornstarch, tapioca starch/flour and salt.IMG_3959
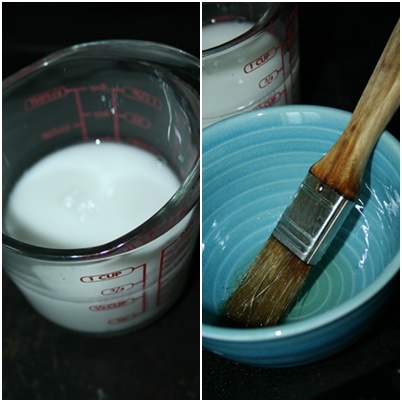
  2. Stir in the water and canola oil , whisk to well-combined. Set aside to allow the batter to sit and absorb liquid at room temperature for 20 minutes.Measures and brushing
  3. Heat an 8-inch nonstick skillet and brush with oil. Whisk the rice-flour batter well each time before pouring on the hot pan.

    IMG_3967

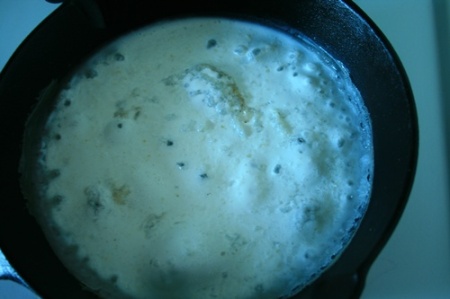
    When you see the batter starts bubbling, it means you are good.

  4. When the oil is hot, pour 1/3 cup of the batter into the skillet, tilting and shaking the pan slowly to evenly coat the pan with batter.

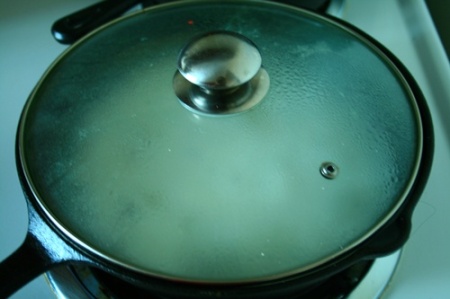
    Cover with lit

    Cover with lit

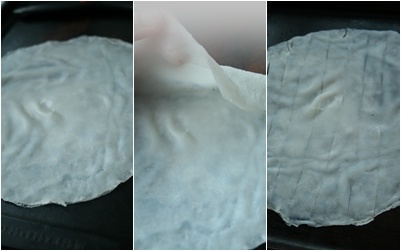
  5. Cover and cook over medium-low heat until the ‘crêpe’ is firm, about 3-4 minutes. Let it continue to cook for about 2 minutes. With a spatula, slowly remove the cooked batter from the pan to avoid the crepe from tearing.Methods
  6. Flip the crêpe out flat onto a prepared baking sheet. Repeat with the remaining batter , it make approximately 12-14 crepes in total; don’t let the crêpes overlap on the baking sheets or they will stick together. Let them cooled and completely firm to touch.
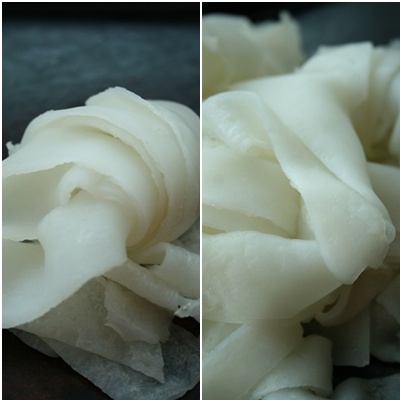
  7. Take one crepe , score it into 8-10 pieces of flat noodles, depending size of preferences. Continue with the remainings and ready to use. ( you may want to roll the crepe up before cutting into noodles size but be careful because it may stick, make sure the crepes are completely firm and cooled).

Koew Teow

Storing: If making a head, place the noodles in a clean and dry freezer/Ziploc bag, refrigerate  up to 5 days, freeze up to 4 weeks

Create a free website or blog at WordPress.com.